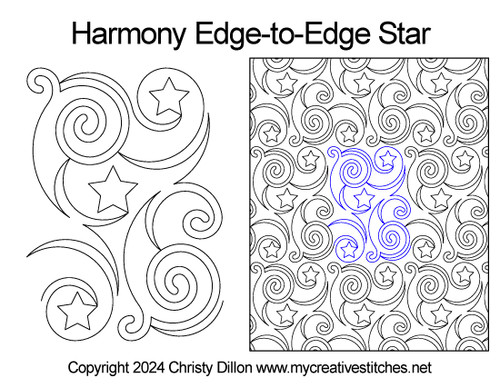
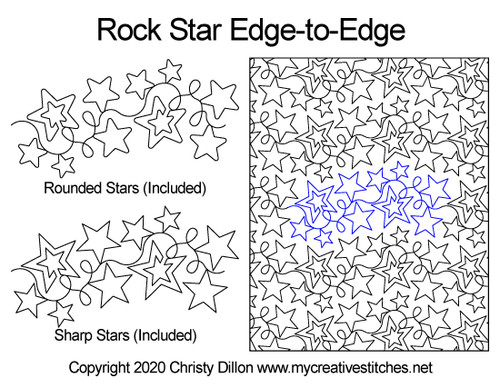
Rolling Stars Edge-to-Edge pattern and has been designed in 32/65/98 inches wide by (81.3/165.1/248.9 cm) and quilts 14.7 inches (37.2 cm) at a time.
Rolling Stars Edge-to-Edge is designed with no over stitching. The rows should be nested (negative spacing).
For IntelliQuilter users:
Ripples (or pattern like it) is one of those patterns that cannot be set up as a panto. It is 98” wide which gives you the clue. This post at the blog explains how to set up this kind of pattern. http://www.iqdemos.com/2017/01/modern-pantos-example-troubles-seas.html
I use a different pattern in that post, but the method will be the same for Ripples. *Thank you to Helen Byrsinski (sp?) for sharing this information!
For HandiQuilter users:
Our friend MK (www.mkquilts.com) has a resource for HandiQuilters who would like to use this pattern.
https://drive.google.com/file/d/1byTVWLJ8t9he2ttGgBQk5__LTYuBmVSF/view?usp=sharing
For Statler users:
To use wide edge-to-edges, remember that only one repeat is needed for the width of the quilt because these patterns are 98 inches wide. What you need to focus on when using these patterns are the number of repeats for the length of the quilt. Also remember that these patterns can be used on quilts that are not 98 inches wide by still using one repeat for the width and using a Fill or Trim, taking away (or cutting away) the excess pattern from the edges of the quilt so that the pattern will just stitch on the quilt itself.
Grace Q'nique with QCT users:
Use the pattern in the basic mode, do no use in power pantograph mode.
For Innova users:
You can’t use the edge to edge auto generating part of the software. You have to put it on the screen and copy and paste and position manually each row below each row. They work fine. You can even link two of them together once they are there. It just won’t auto generate on Mach 3 software the way other edge to edge designs will. Just trim the edges if it’s larger than what you want.
Since it's a single pattern/repeat, you'd place it and size it to be the desired height or scale, and then create a masking area to clip away the pattern you don't need. Auto Pilot also has a feature to create a boundary area to drop a pattern into. You'd set four points and then choose fit or maintain ratio to place the pattern within the boundary. Their "boundary area" feature looks similar to the Select and Sew placement.


